
How to Make a Site Like This
A few days ago I decided it was time to make a personal website. I didn’t want to use a template system because that’s lame. I also didn’t want to write something from scratch because that is not my wheelhouse. I found a happy medium with Jekyll. It has numerous advantages too:
- I can create a blog with no SQL configuration.
- I can add a number of static pages with ease.
- The pages are hosted on GitHub.
- Pages and posts can be created in Markdown and
- Pages can be built using Bootstrap.
Let’s be upfront: I love the simple, clean layout from Sourabh so much I shamelessly copied it. That said, his directions didn’t completely explain how to replicate his site starting with a Jekyll install. I’d like to take his explanation and expand on it, starting from installing Jekyll and getting to the finished product.
This is the start of a multi-post outline on creating a specific Jekyll site. Of course, if you want a full description on using Jekyll for building a bunch of static sites please refer to the official documentation.
Let’s get started:
Setting up Your Environment
Installing base packages
You’ll need to install a few pieces of software. I can’t spell it out better than the official Jekyll docs so work through the Installation page for your platform.
When you have Jekyll installed, go to your site directory and type:
jekyll new blog --force
This will set up the base site with the folder hierarchy and install the minima theme.
Homebrew
If you’re not using Git and Github you’ll need to install Git and setup a GitHub account.
I highly recommend using Homebrew if you’re on a Mac. Install
Homebrew and use it to install Git.
    /usr/bin/ruby -e "$(curl -fsSL https://raw.githubusercontent.com/Homebrew/install/master/install)"
    brew install git
Setting up GitHub
If you don’t already have a GitHub account, you’ll need to visit GitHub and set up an
account. Once done, create a new repository and name it username.github.io where
username is your GitHub username. During the setup process, be sure not to include any
of the optional files they suggest such as a README or gitignore file. You want a
completely empty repository (repo).
Local directory
Now that you’ve run through the installation process and set up both Git and GitHub as well as an empty GitHub repo for your site, we need to set up our site to version with Git and then mirror it to the GitHub repo. Run the following commands:
    cd Sites/<your site directory>
    git remote set-url origin git@github.com:USERNAME/USERNAME.github.io.git
    git push origin master
You’ve now initiated a local Git repo and have it tied to the GitHub repo you just made. You can now develop the site locally and push changes to the GitHub which will then render the pages.
However, the right way to go about developing the site is to use the built-in server to run the site locally to see what it looks like. Then, debug it on your computer and once you’re comfortable with the changes, push them out to GitHub.
You can run the local server by moving to the <your site directory> directory and running
jekyll serve --livereload
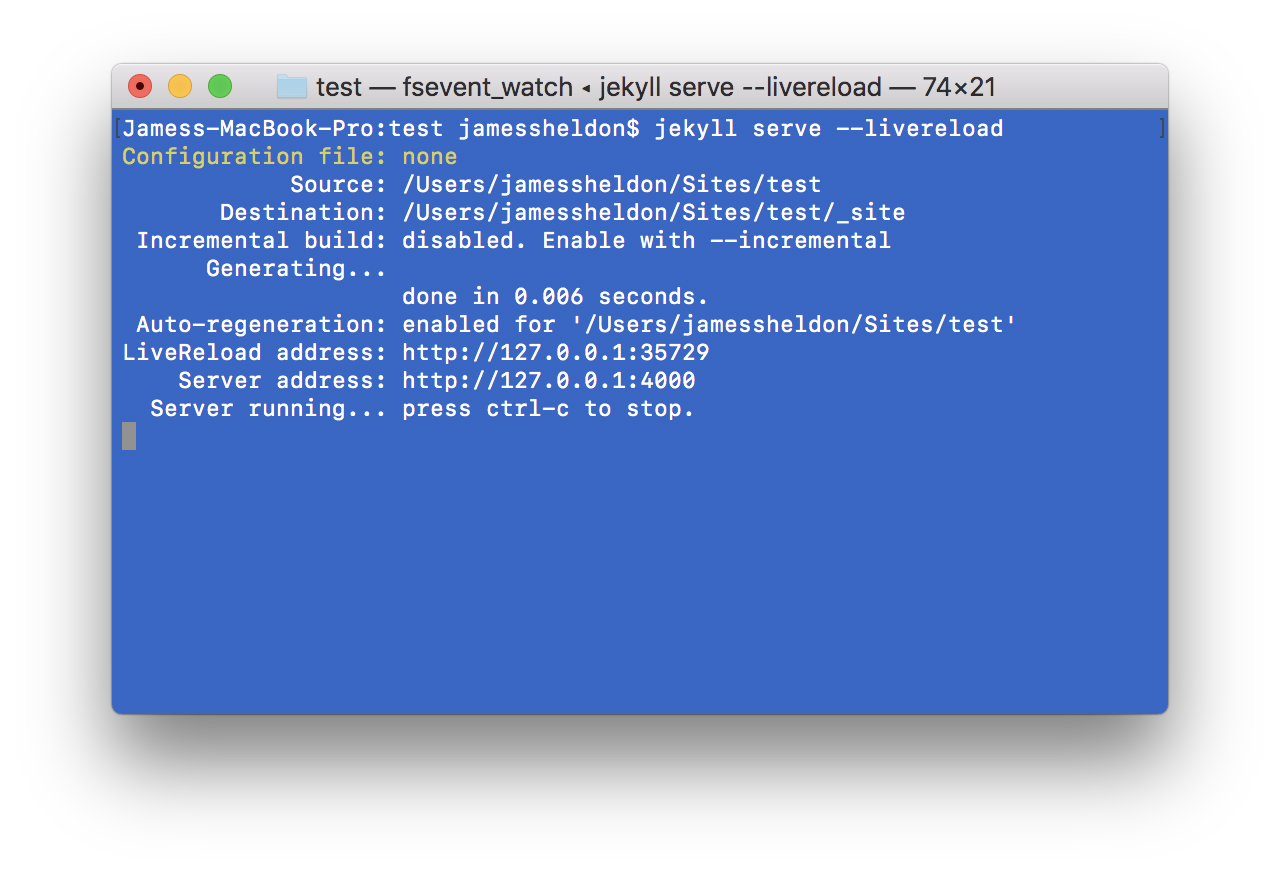
You’ll get a very unimaginative site that looks like the following:
